
Umbraco and uMarketingSuite – personalisation and A/B testing
This is the 2nd of a 3-part blog series on Umbraco and uMarketingSuite. Across this series we will be looking at how to use these platforms to build and deliver website personalisation, testing, analytics and all that good stuff. This 2nd post is on getting personalisation and testing up and running. If you are new to Umbraco and uMarketingSuite, please start on the first post.
This article was originally posted on Aceik.com.au
Let’s look at the setup steps involved, using the Aceik website (aceik.com.au) as an example.
Personalization
Scenario 1
When a visitor comes to our site and views content relating to working with Aceik, they should then experience personalised content as a potential future Aceik employee.
In the previous post in this series, we outlined the 3 pages of content that we would score with our ‘Clive the future colleague’ profile. A visitor who viewed these 3 pages would be profiled with this persona, as the value threshold of 25 is reached. This persona is used as the basis of a visitor segment called ‘Clive’. For all ‘Clive’ visitors, we want to show them a personalised welcome message on the homepage.

To do this, we navigate to the Home page in our content tree and go to Personalization and ‘Add a personalized variant’. Select our Clive segment to personalize for and give it a name. On the screen that follows, we can create modifications to our new home page variant, side-by-side with the Default experience. Umbraco makes it easy to copy components from the Default across to the Variant, and then modify them.
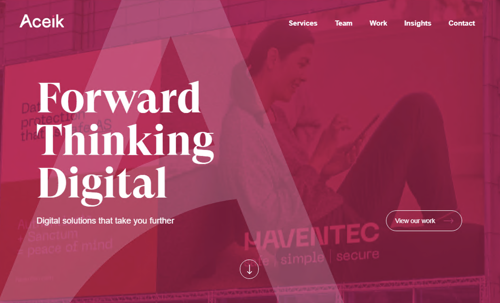
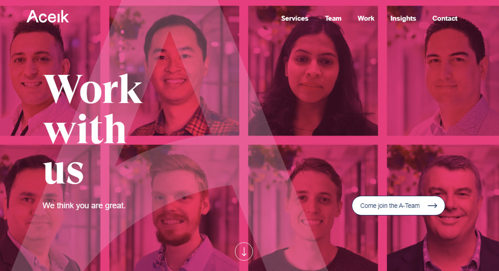
In our case, we want to modify the Header Banner message from the default of “Forward Thinking Digital” to “Work with us. We think you are great”. We also want to change the background image and call-to-action button. These modifications can all be made within the one Header Banner component.

Whilst of course this may not necessarily win us any new employees, we believe it demonstrates the point of easy personalisation using uMarketingSuite🙂
Default homepage
Personalised homepage for Clive segment
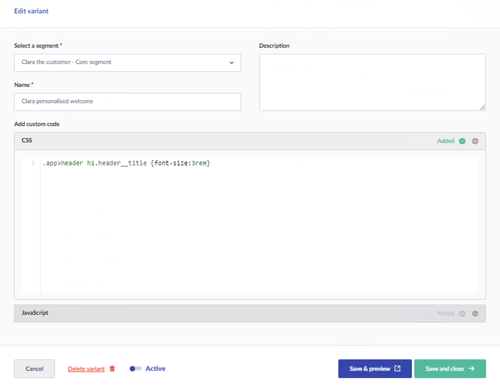
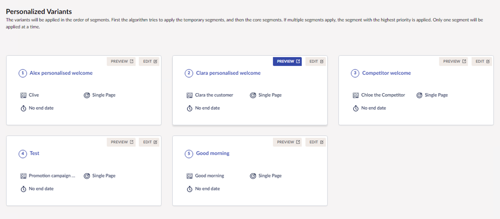
Of course, we can create similar variants for our other Personas/Visitor segments. In addition to modifying the content components on the page, you can also add custom CSS and JavaScript for each variant. This effectively provides unlimited ability to personalise the experience based on your user experience requirements.
Scenario 2
When a visitor comes to our Services page from a targeted online campaign, we should show them information specific to the digital service they are interested in.
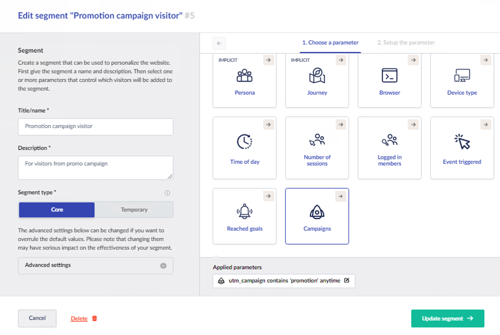
This time, we will personalise the Services page based on an Explicit parameter. We have created a segment for all visitors who arrive on our site with the UTM campaign value of ‘promotion’.
Using that segment, we will create a personalised variant of our Services page.
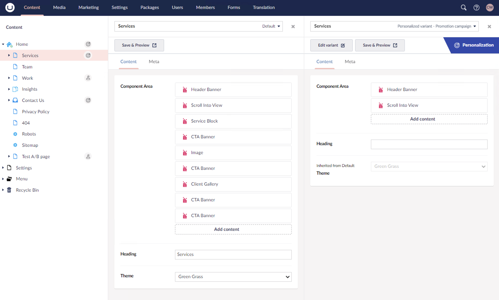
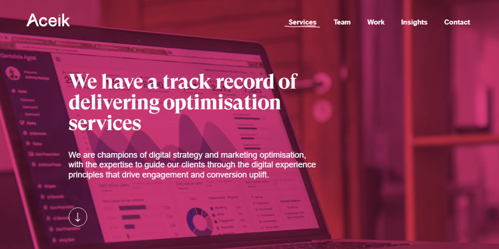
Assuming the promotion relates to Aceik’s website optimisation services, the variant will include modifications to the Head banner to change the hero image and text accordingly.
Default experience

Personalised experience for promotion visitors
A/B Testing
uMarketingSuite supports various kinds of A/B testing. You can test single pages, multiple pages at once or entire document types (to test global changes).
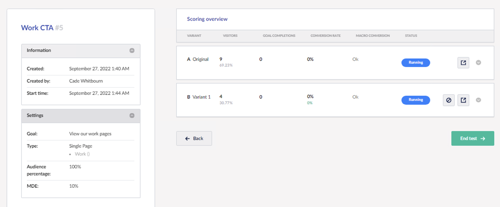
One of the goals of the Aceik website is to have visitors view the work we’ve delivered. We can create a simple sing page A/B test to measure how effective different headlines, images and calls-to-action are in generating views of our Work pages. To measure the effectiveness, we will use Goals, as set up in our first blog post in this series.
To do this, we navigate to the Work page in our content tree, go to A/B tests and Start a test.
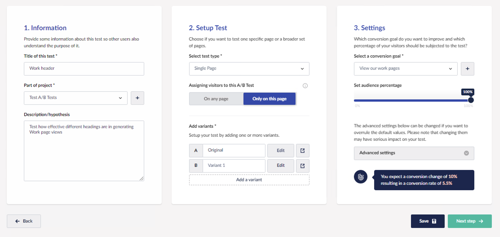
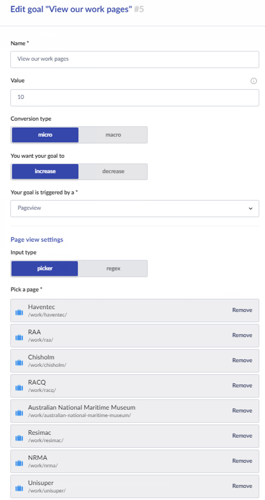
As you can see in the screenshot, we have various parts to configure. Note you can include multiple page variants if you wish. We have selected the goal of ‘View our work pages’. This goal is set to fire when any of the sub-pages within Work are viewed.
The modification of each test variant happens in the same way as each personalisation. You edit each variant alongside the default experience and modify the elements required.
Once the test is set to run, you can view data on how the test is progressing. The length of the test will vary depending on the volume of visitors/participants in the test. The variant with the highest conversion rate will be the winner.
Previewing changes
uMarketingSuite makes it easy to preview both personalisations and A/B tests at any point. There are prominent Preview links in appropriate locations for both. You can use these links to preview any changes before publishing or to review the current personalisations/tests once live also.
A topic for our next post in this series is the excellent de-bugger and preview tool that comes with uMarketingSuite. This tool, called ‘Cockpit’, makes it incredibly quick and easy to preview the site using any available Segments. It also lets you see lots of other cool things. Next post coming soon…


